Creating New Resources
You can create new resources directly in the Miro app — useful for designing services, events, and other resources that don't exist in your catalog yet.
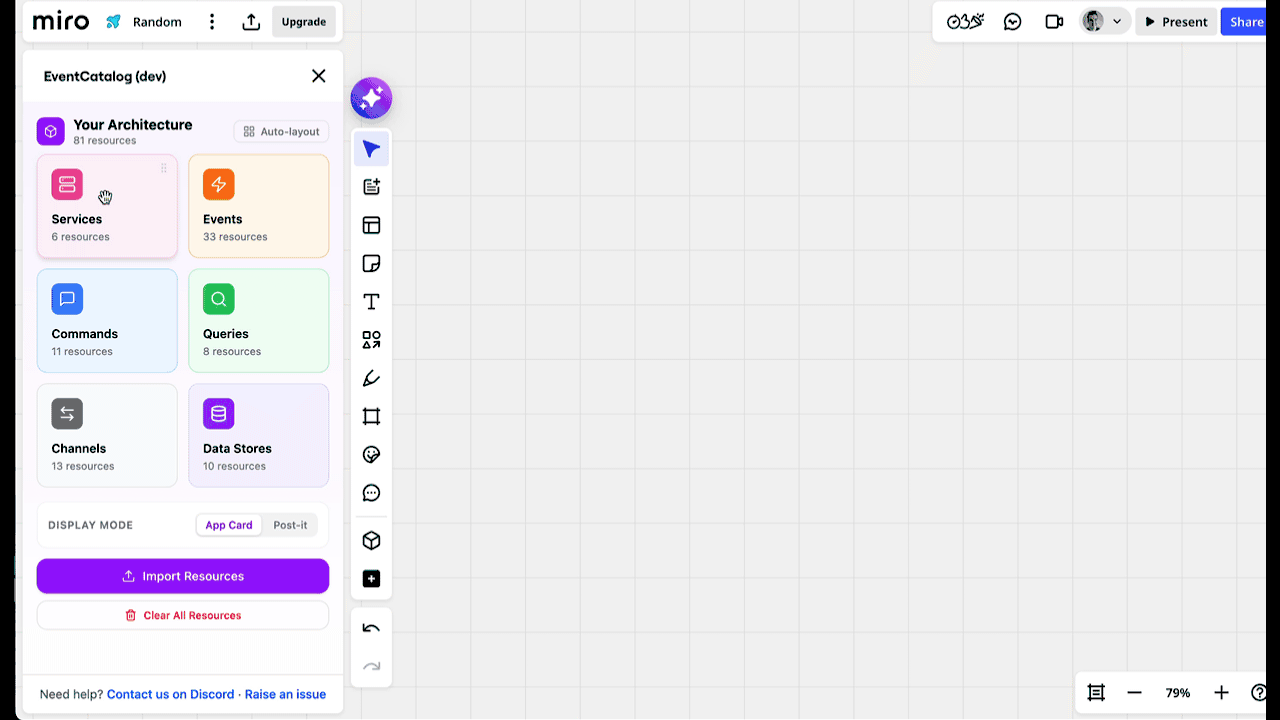
Creating from the resource list
 Creating a new resource
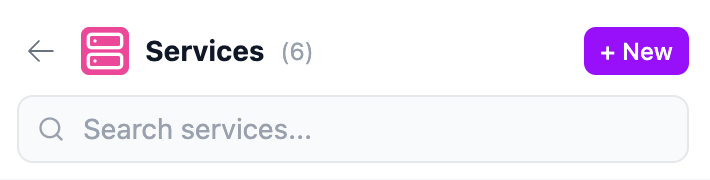
- Click a category (e.g. Services) to open the resource list
- Click the + New button in the header
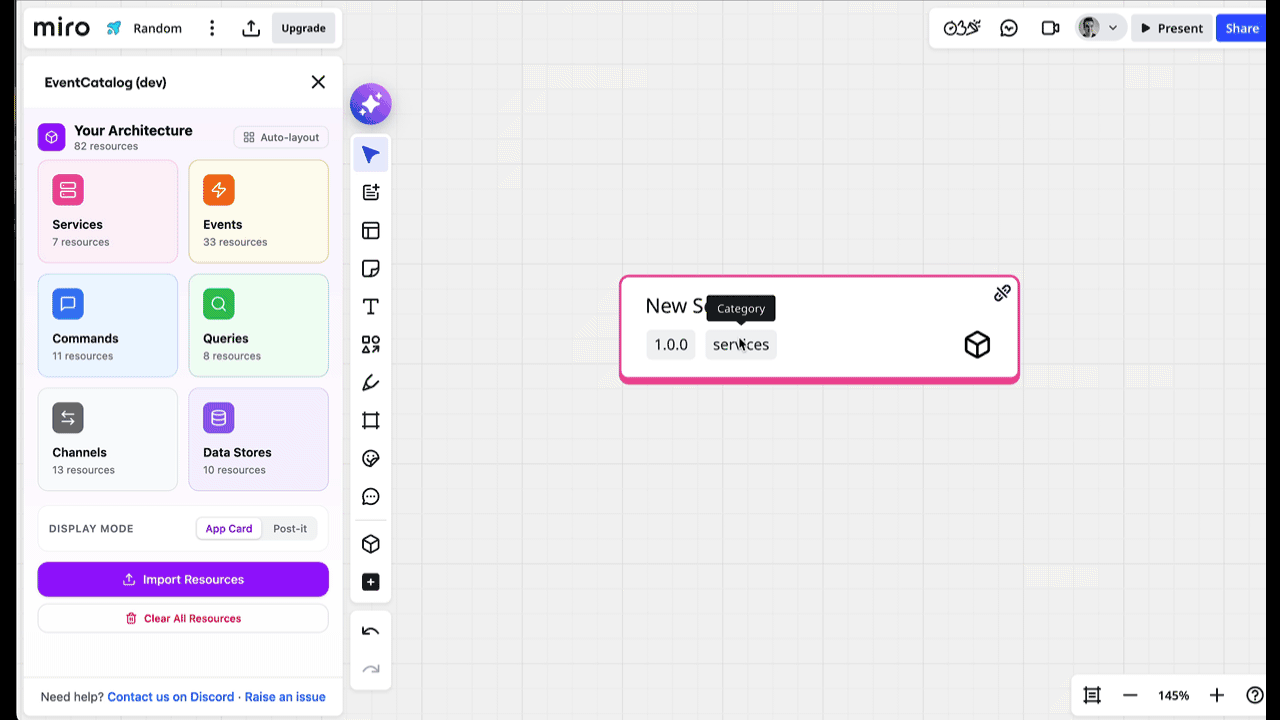
- A new resource is created with a default name (e.g. "New Service") and version
1.0.0 - The resource is added to both the sidebar list and the Miro board
The new resource appears at the top of the list with a slide-in animation so you can spot it easily.
Creating from the dashboard
 Dragging a service with its dependencies onto the board
You can also drag a category card from the dashboard directly onto the board. This creates a new blank resource of that type at the drop position — a quick way to sketch out new resources without opening the category list first.
Editing new resources
 Dragging a service with its dependencies onto the board
Once created, click the resource on the board to open its detail view. From there you can edit:
- Name — click the pencil icon next to the name to rename it
- Version — click the pencil icon next to the version to change it
- Summary — click the pencil icon next to the summary to add a description
Changes sync to both the sidebar and the board item automatically. Press Enter to save or Escape to cancel.
Deleting resources
To remove a resource, you have two options:
- From the resource list — hover over a resource and click the trash icon on the right
- From the detail view — select a node on the board, then click the trash icon in the top-right of the detail panel
Deleting from the detail view removes the resource from both the catalog and the Miro board.
Draft resources
New resources created in the app are marked as drafts. This distinguishes them from resources that were imported from your EventCatalog project, making it easy to see what's new versus what already exists in your architecture.