Connected Resources
When you draw a connector between two resources on the Miro board, the app automatically labels it and styles it based on the resource types — no manual labeling needed.
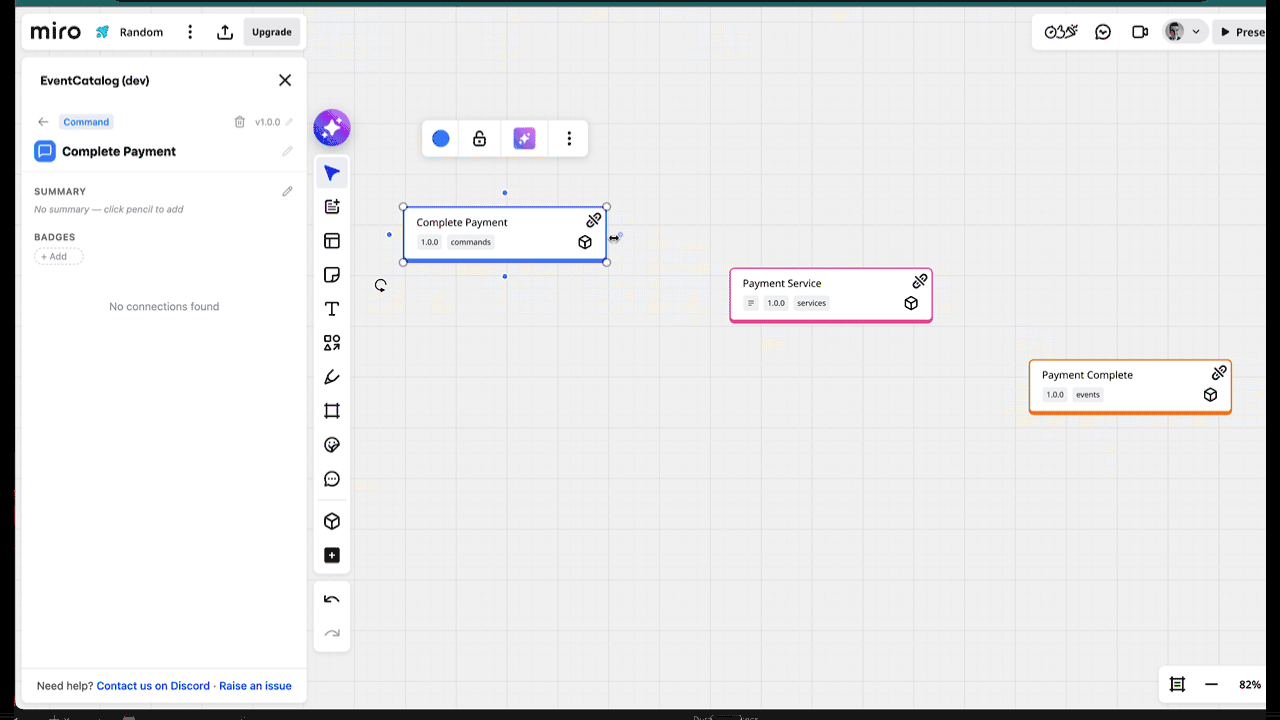 Editing a resource from the detail panel
Drawing connections
Use Miro's built-in connector tool to draw a line from one resource to another. The app detects the resource types and automatically sets:
- Label — describes the relationship (e.g. "publishes event", "receives", "writes to")
- Color — matches the connection type
- Shape — elbowed connectors with directional arrows
Automatic labels
The label applied depends on the direction and types of the connected resources:
| From | To | Label |
|---|---|---|
| Service | Event / Command / Query | "publishes event", "invokes command", "requests" |
| Event / Command / Query | Service | "receives event", "accepts", "accepts" |
| Service | Channel | "publishes to" |
| Channel | Service | "subscribes from" |
| Event / Command / Query | Channel | "routed through" |
| Channel | Event / Command / Query | "delivers" |
| Service | Data Store | "writes to" |
| Data Store | Service | "reads from" |
| Service | Service | "connects to" |
Viewing connections
Select a resource on the board to see all its connections in the detail panel. Connections are grouped by direction:
- Services show Incoming Messages, Outgoing Messages, and Data Stores
- Events, Commands, Queries show Producers and Consumers
- Channels show incoming and outgoing routes
Connection highlighting
When you select a resource, all of its connections are highlighted in purple on the board. This makes it easy to trace the flow of a message or see which resources depend on the selected one.
Navigating connections
Click any connected resource in the detail panel to zoom to it on the board and open its details. This lets you follow the message flow through your architecture — from producer to event to consumer — without manually searching the board.