Setting up Azure AD (Entra ID)
eventcatalog@2.43.1This guide takes your through setting up a protected sign-in screen for your docs. Before going through this guide, make sure you've first gone through Enabling authentication.
To setup your EventCatalog site with visitor authentication using Microsoft Entra ID (formerly Azure Active Directory), the process looks as follows:
Create a new Azure app registration
First, you will need to create a new app registration in the Azure portal.
- Go to portal.azure.com and sign up for a free account or login
- Search for Microsoft Entra ID (or Azure Active Directory) in the top search bar
- Navigate to App registrations → New registration
- Fill in the application details:
- Name:
EventCatalog - Supported account types: Select Accounts in any organizational directory and personal Microsoft accounts (for broader compatibility)
- Redirect URI: Select Web and enter:
- Local development:
http://localhost:3000/api/auth/callback/microsoft-entra-id
- Local development:
- Click Register
- After registration, note the Application (client) ID and Directory (tenant) ID from the Overview page
- Navigate to Certificates & secrets → New client secret
- Add a description (e.g., "EventCatalog Secret") and choose an expiration period
- Click Add and immediately copy the secret Value (you won't see it again)
- Go to Authentication in the sidebar and configure:
- Add additional redirect URIs for production:
{YOUR_EVENTCATALOG_SITE_URL}/api/auth/callback/microsoft-entra-id - Under Implicit grant and hybrid flows, check ID tokens
- Click Save
Configure the Azure app in EventCatalog
Add your Azure AD Client ID, Client Secret, and Tenant ID to your .env file.
AUTH_MICROSOFT_ENTRA_ID_ID={YOUR_AZURE_CLIENT_ID}
AUTH_MICROSOFT_ENTRA_ID_SECRET={YOUR_AZURE_CLIENT_SECRET}
AUTH_MICROSOFT_ENTRA_ID_ISSUER=https://login.microsoftonline.com/{YOUR_AZURE_TENANT_ID}/v2.0
Your Azure AD tenant ID can be found in your app registration's Overview page in the Azure portal.
In your eventcatalog.auth.js file, add the following:
module.exports = {
  enabled: true,
  providers: {
    azureAd: {
      clientId: process.env.AUTH_MICROSOFT_ENTRA_ID_ID,
      clientSecret: process.env.AUTH_MICROSOFT_ENTRA_ID_SECRET,
      issuer: process.env.AUTH_MICROSOFT_ENTRA_ID_ISSUER,
    },
  },
};
Test the authentication
Restart your EventCatalog server and test the authentication.
npm run dev
All pages should now be protected and require a Microsoft account to access.
- Navigate to your EventCatalog site
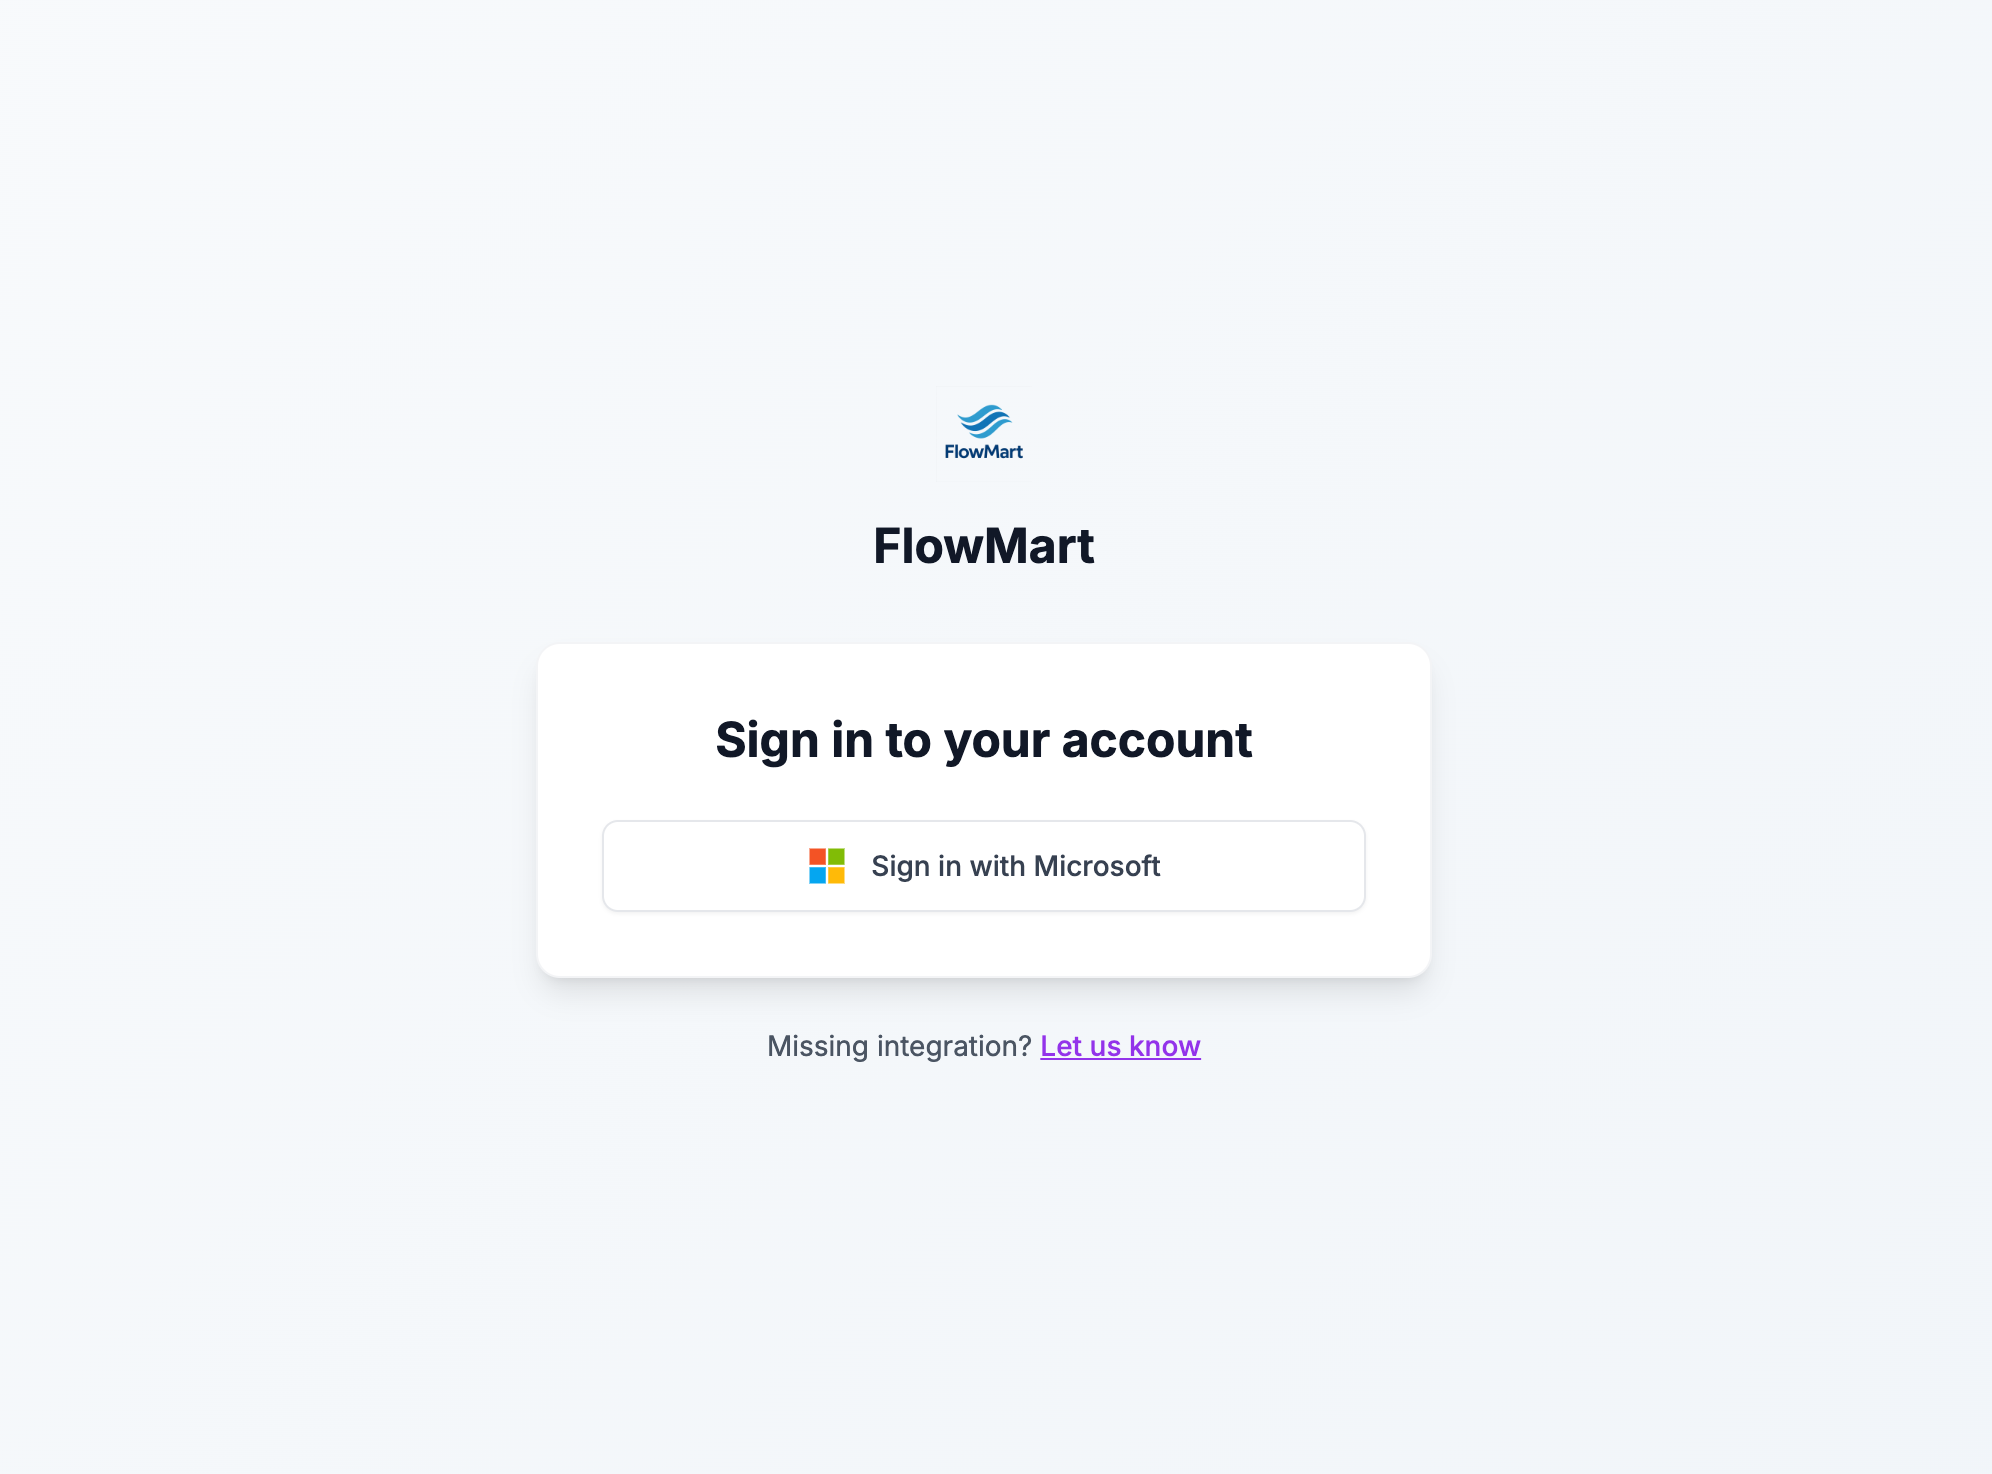
- You should be redirected to the sign-in page
- Click Sign in with Azure AD
- You'll be redirected to Microsoft's login page
- Enter your Microsoft account credentials (personal or organizational)
- After successful authentication, you'll be redirected back to EventCatalog
Found an issue?
Remember to setup the prerequisites for this guide:
If you still have problems, please let us know.