Setting up Auth0
eventcatalog@2.43.1This guide takes your through setting up a protected sign-in screen for your docs. Before going through this guide, make sure you've first gone through Enabling authentication.
To setup your EventCatalog site with visitor authentication using Auth0, the process looks as follows:
Create a new Auth0 application
First, you will need to create a new Auth0 application in your Auth0 Dashboard.
- Go to auth0.com and sign up for a free account or login
- In the Auth0 Dashboard, navigate to Applications → Applications
- Click Create Application
- Fill in the application details:
- Name:
EventCatalog - Application Type: Select Regular Web Applications
- Name:
- Click Create
- In your new application's Settings tab, configure the following:
- Allowed Callback URLs:
- Production:
{YOUR_EVENTCATALOG_SITE_URL}/api/auth/callback/auth0 - Local development:
http://localhost:3000/api/auth/callback/auth0
- Production:
- Allowed Logout URLs:
- Production:
{YOUR_EVENTCATALOG_SITE_URL} - Local development:
http://localhost:3000
- Production:
- Allowed Web Origins:
- Production:
{YOUR_EVENTCATALOG_SITE_URL} - Local development:
http://localhost:3000
- Production:
- Allowed Origins (CORS):
- Production:
{YOUR_EVENTCATALOG_SITE_URL} - Local development:
http://localhost:3000
- Production:
- Allowed Callback URLs:
- Leave Initiate Login URI empty (not required)
- Click Save Changes
- Copy the Domain, Client ID, and Client Secret from the app settings
Configure the Auth0 app in EventCatalog
Add your Auth0 Domain, Client ID, and Client Secret to your .env file.
AUTH_AUTH0_ID={YOUR_AUTH0_CLIENT_ID}
AUTH_AUTH0_SECRET={YOUR_AUTH0_CLIENT_SECRET}
AUTH_AUTH0_ISSUER=https://{YOUR_AUTH0_DOMAIN}
Your Auth0 issuer URL should be in the format: https://your-tenant.auth0.com (this is the Domain from your Auth0 application settings).
In your eventcatalog.auth.js file, add the following:
module.exports = {
  enabled: true,
  providers: {
    auth0: {
      clientId: process.env.AUTH_AUTH0_ID,
      clientSecret: process.env.AUTH_AUTH0_SECRET,
      issuer: process.env.AUTH_AUTH0_ISSUER,
    },
  },
};
Test the authentication
Restart your EventCatalog server and test the authentication.
npm run dev
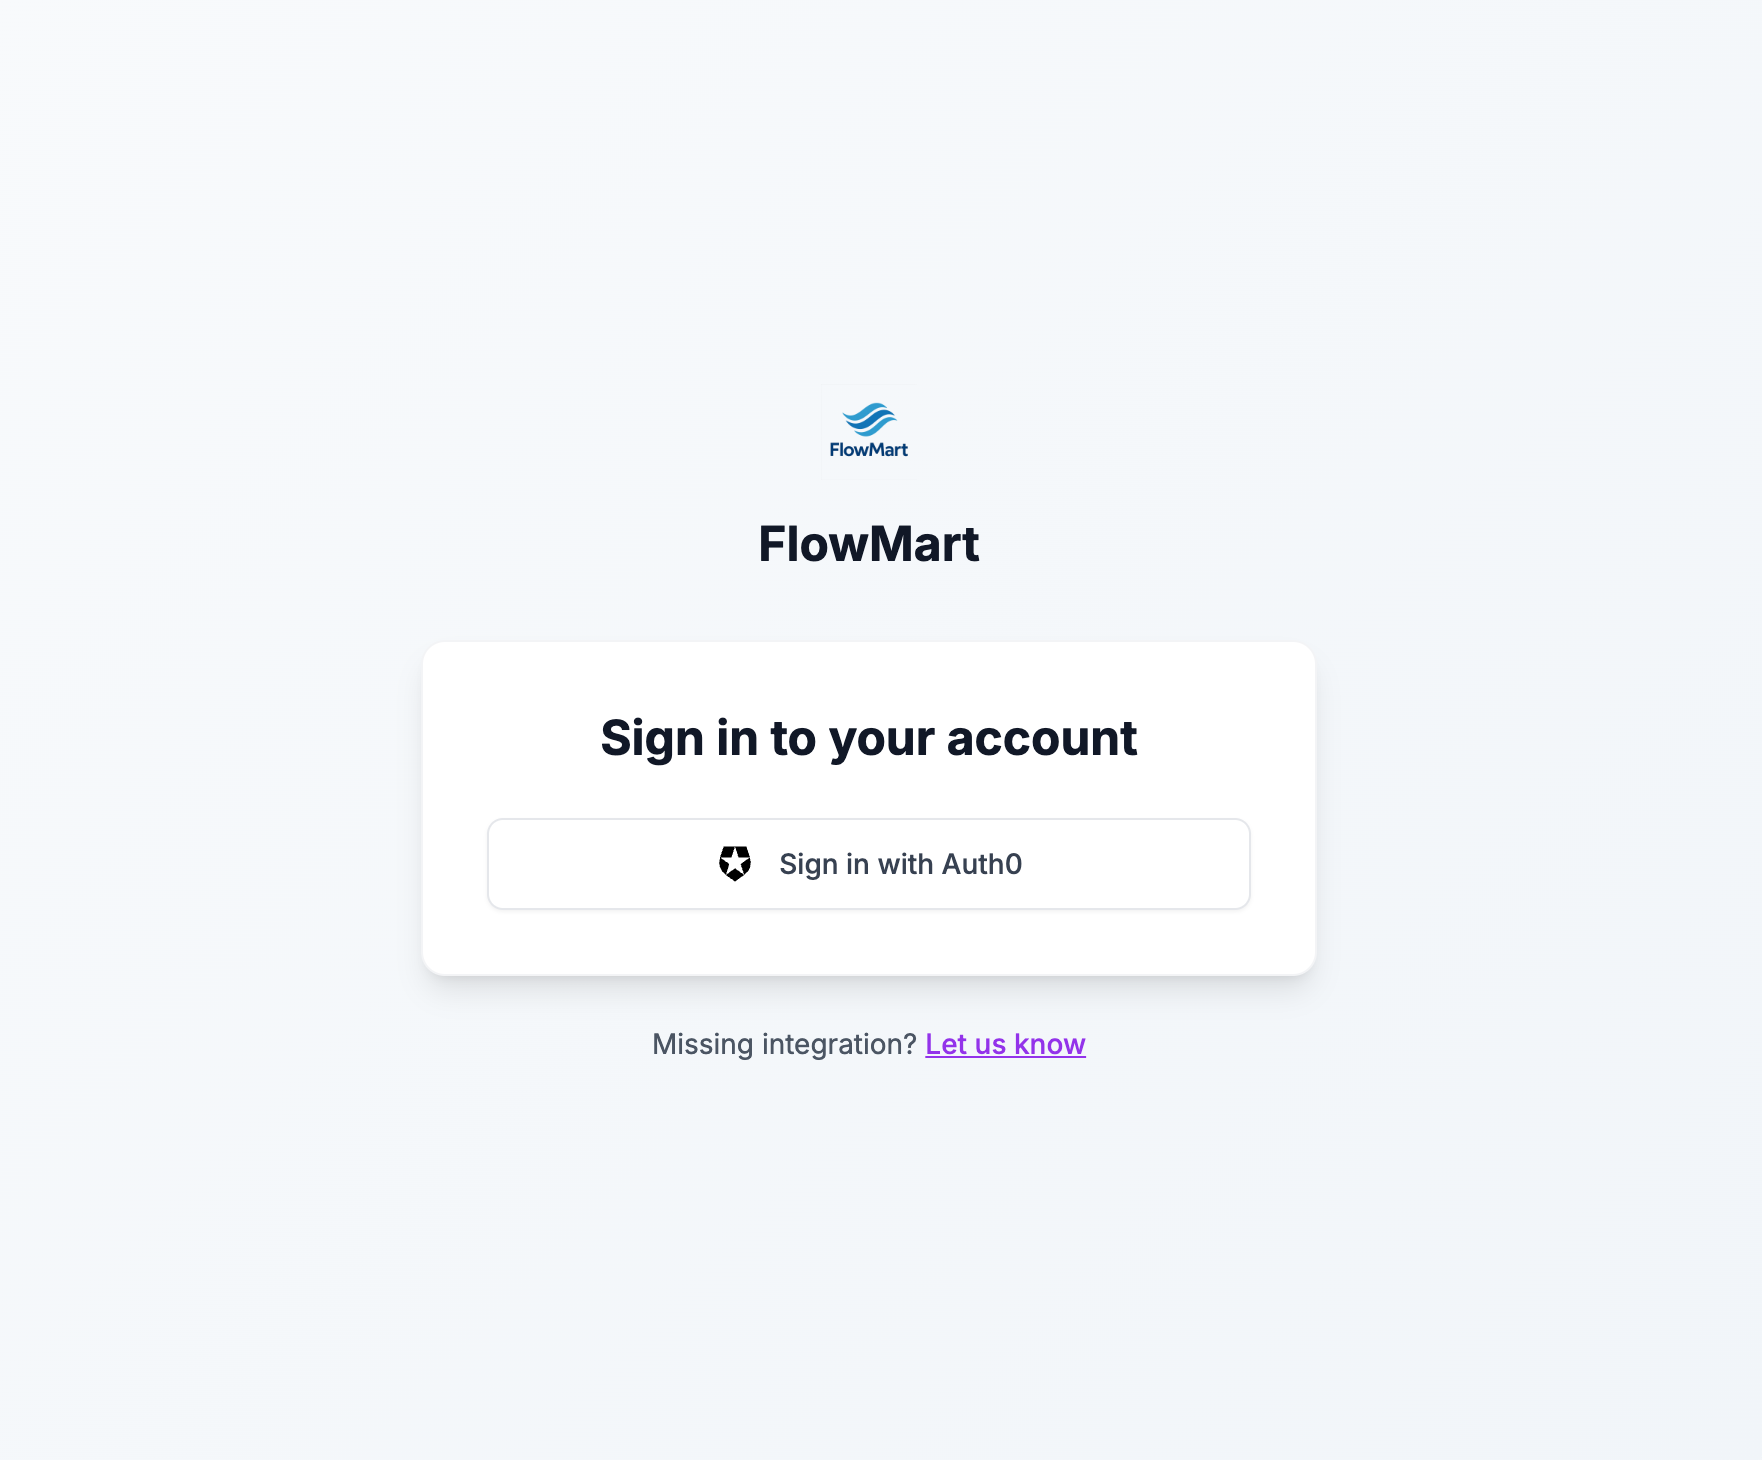
All pages should now be protected and require an Auth0 account to access.
- Navigate to your EventCatalog site
- You should be redirected to the sign-in page
- Click Sign in with Auth0
- You'll be redirected to your Auth0 login page
- Enter your credentials or sign up for a new account
- After successful authentication, you'll be redirected back to EventCatalog
Found an issue?
Remember to setup the prerequisites for this guide:
If you still have problems, please let us know.